Design a Monster

As a train builder I had been collecting green bricks with the view to making a mountain or a tunnel. Green isn't a common colour used in quantity in sets. It took considerable time and when I reached a decent amount I had a re-think. A mountain (or green lump) just didn't seem like a great use for the bricks considering how long it took to obtain them.

I started looking at other alternatives for the green bricks and with the Avengers movie going gang busters at the movies I decided on building a Hulk. There was pictures of a few amazing brick hulks on the internet. Most were built in LEGO's model shop.


3D Modelling

My own creation (MOC) started as a 3D model on the computer. I ran some custom code that splits the 3D design into blocks. It took a bit of fiddling but I eventually got the code to make the blocks the correct ratios and size so if built from real LEGO bricks the design would look correct and to scale.

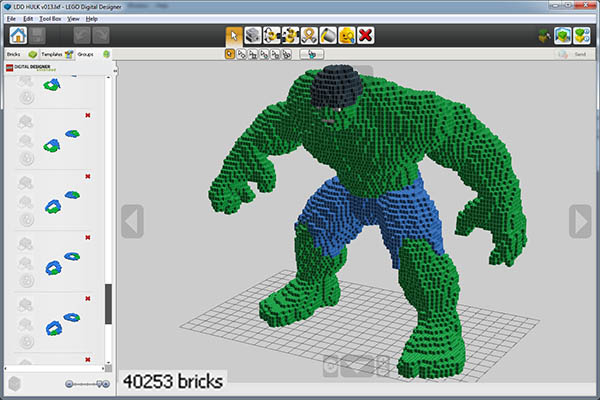
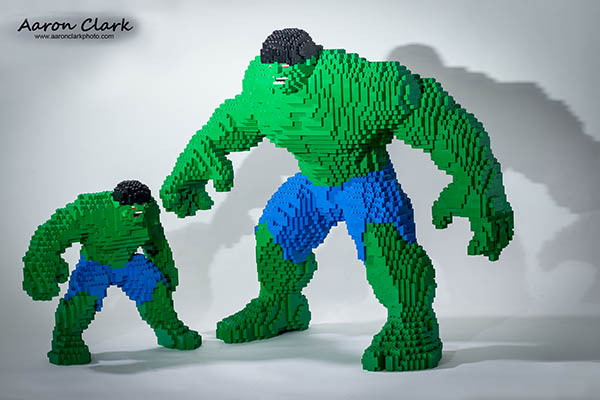
My first conversions were too ambitious. A 1.25m hulk would be 40,000+ bricks and way beyond my budget. I eventually decided on around 3 quarters of a metre. I then halved that again to make a prototype for baby hulk. About a month of computer design and it was looking good. I took the 3D blocked template and used this as a guide to build it in LEGO digital designer.

Another couple of weeks to refine in LDD design and I started putting it together with real bricks. In LDD I could display a single slice or layer and add it to the build. Layer after layer until it was finished. The prototype illustrated that the process and method worked and also what brick types worked best for sculptures (1x3 and 1x4).

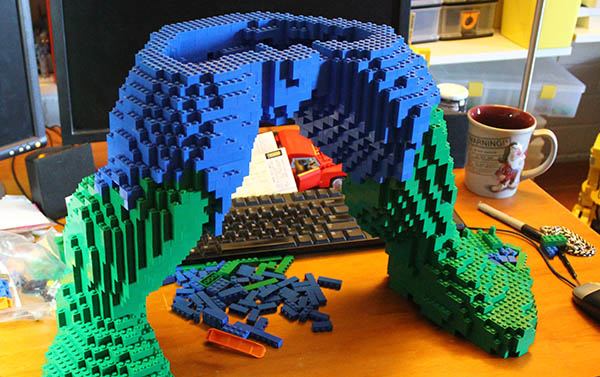
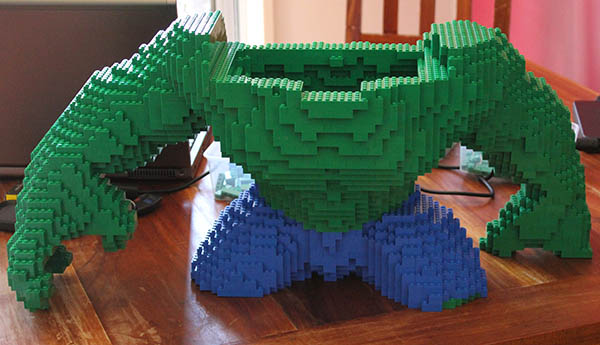
I needed a lot more bricks. In total it took over 6 months just to collect all the green bricks. The large hulk was about 3 months just to design on the computer and build in LDD. I used 1x1 brick in LDD to shape the design. It meant I could easily shaved bricks off and add new ones. To sculpt and make the design better. The head, just like baby hulk, used plate instead of brick to enable a bit more detail.


Construction

In building large hulk I glued him as I went. I would work out the bricks for a layer. Then remove each brick one at a time. Apply glue and put it back on. I only use cheap super glue which is a pressure or contact adhesive. You have to make sure it gets put in the right place the first time.

This process was very slow. Baby hulk was built originally without glue in a week. Large hulk required a week just to build a leg. Why glue at all, isn't Kragle the enemy? Sculptured models are fragile. I wanted hulk to travel to other shows around Australia. If peieces fall off it's very difficult to figure out where they go. If enough break off you have to start from the begining and rebuild it from the bottom layer back to the top.

I really didn't want to be rebuilding this over and over again. Baby hulk eventually had one too many breakages and was also rebuilt from scratch. This time using glue. Having a super tough looking moc that was fragile just seemed wrong. Now they are both chunky and easily handled.


Finished MOC

It took about 6 weeks to build large hulk. It's not a fancy construction. It just uses the basic LEGO bricks. It's funny how when I first built baby hulk I thought he looked tough and was the boss. Since the big hulk was finished, baby hulk just looks cute and adorable.